Create a Delivery Area to be referenced in Freight Points. Use Search to find existing Delivery Areas or select Add to create a new Area. Creating Delivery Areas should be completed after Geographic Regions when using the Freight function.
| Access |
| Grant permission to User Profiles in Access User Profiles > select a User Profile > Menu Security > Reports > Main Menu > Setup. |
| Grant permission to User Profiles in Access User Profiles > select a User Profile > Security > Commodities & Grain Merchandising > Setup Freight> Access Delivery Areas. |
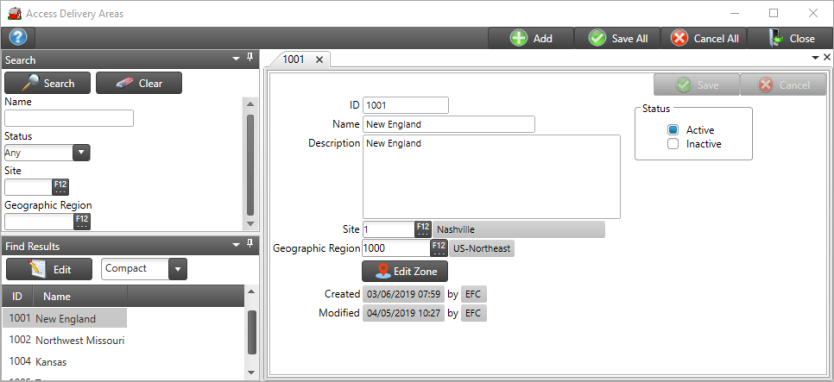
A numeric system assigned ID is added for the Delivery Area when saved.
Enter up to 50 alpha-numeric characters to create the Name, a required field.
The Status defaults to Active.
Up to 500 alpha-numeric characters can be added as a Description, a required field.
Enter the Site ID associated with the Delivery Area or use F12 to search.
Provide the Geographic Region by entering the ID or select F12 to search, this is a required field. See Access Geographic Regions for more information.
Use Edit Zone to set the map coordinates for Delivery Area by using a map. Click the Edit Zone button to access the map. Position the map to view the area for delivery and double click on the map to set markers for the borders of the Delivery Area.
If needed, click the Clear button to correct the map and select Post when complete.
Select Save when complete.